Home on babysitting detail today so I figured Neil Thomas' outstanding One Hour Wargames would be in order since I am closely tied to the house.
While
Power Rangers Dino Charge blasted upstairs for my little one, I took to the basement to play Scenario #5 "Bridgehead" from the Neil Thomas One Hour Wargames book, and since this is April (ACW Month here at Sound Officers Call), I used the ACW force list and rolled for the following units:
Yankees
3 Infantry Units, 2 Artillery Battery, 1 Cavalry Unit (dismounted)
Rebels
4 Infantry Units, 1 Zouave Unit, 1 Artillery Battery
A nice and varied group of forces, each with their own unique capabilities. The stage was set!
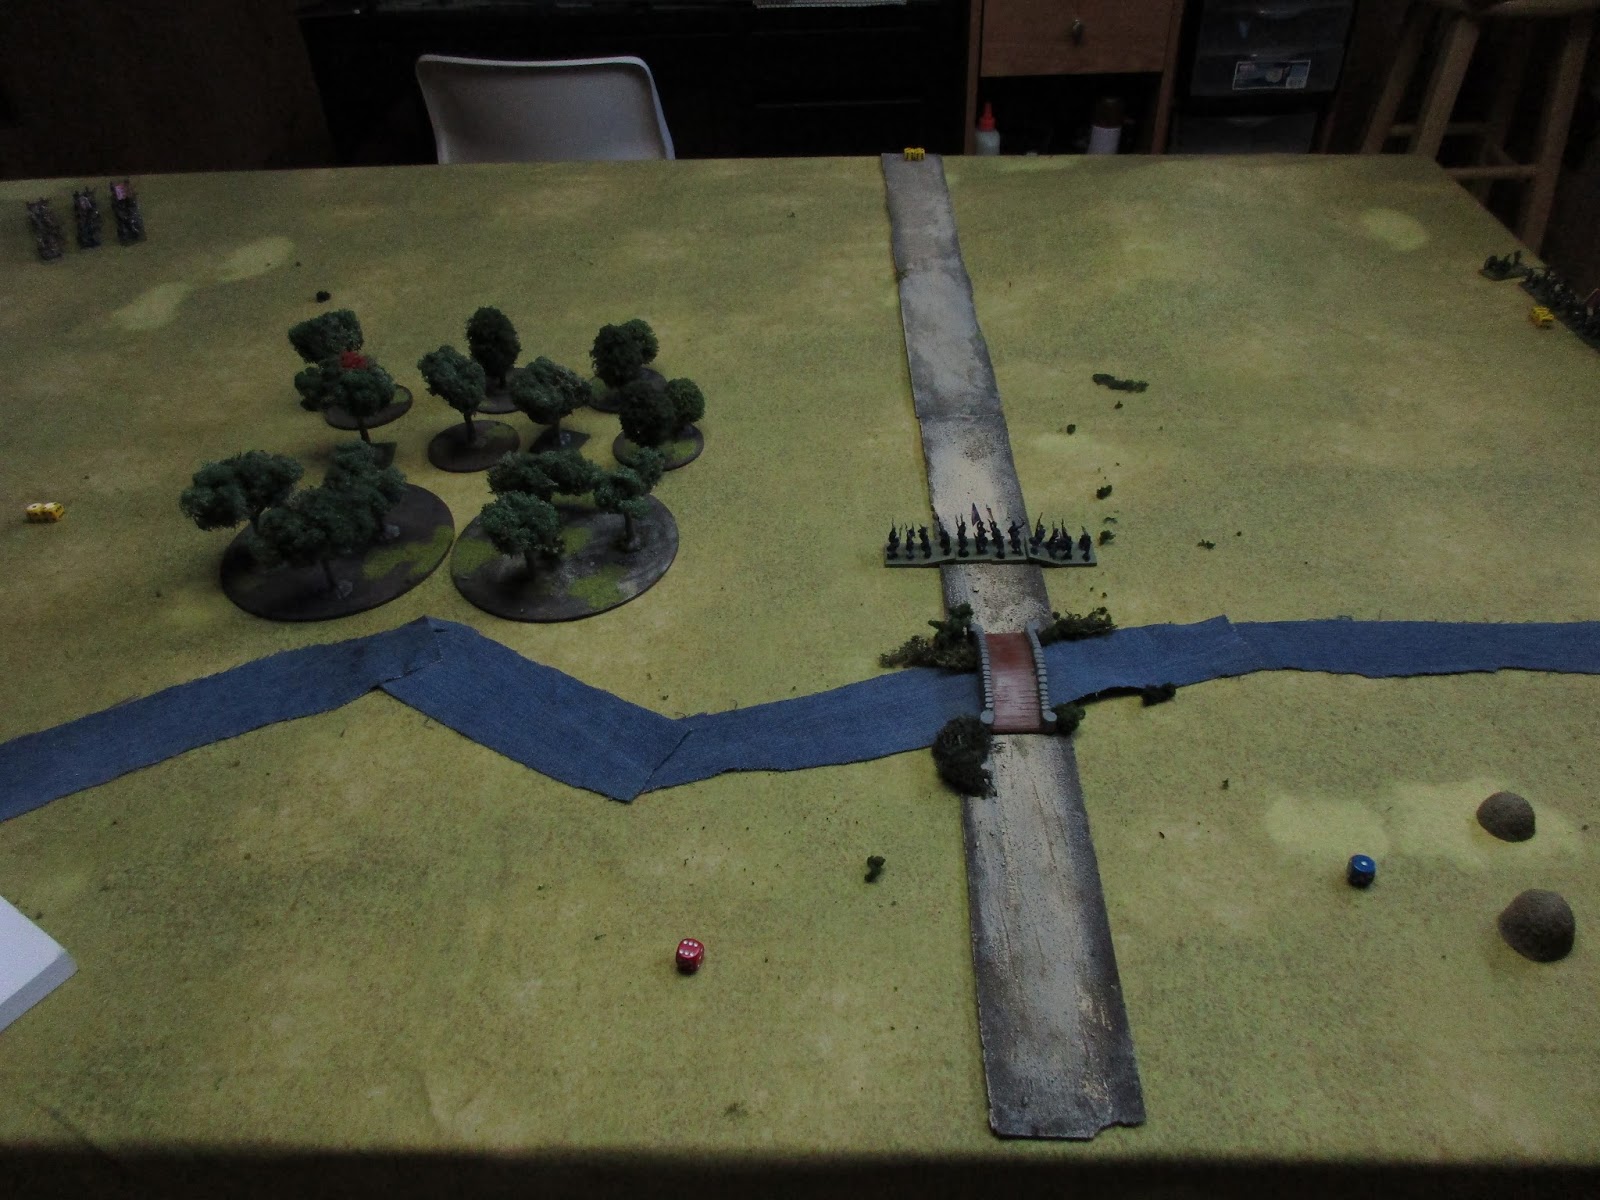
A Yankee Infantry Regiment secures a river crossing and couriers are sent "with all possible haste" to inform the Brigade and Division commanders.
Meanwhile, Bobby Lee rolls a "5" and a Battery of Artillery and Infantry Regiment show up directly to the Yanks' front!
Beginning of Turn 2, a Union Rifled 3" Artillery section shows up. "General's compliments. Where do you want these?" Asks the Sergeant.
 |
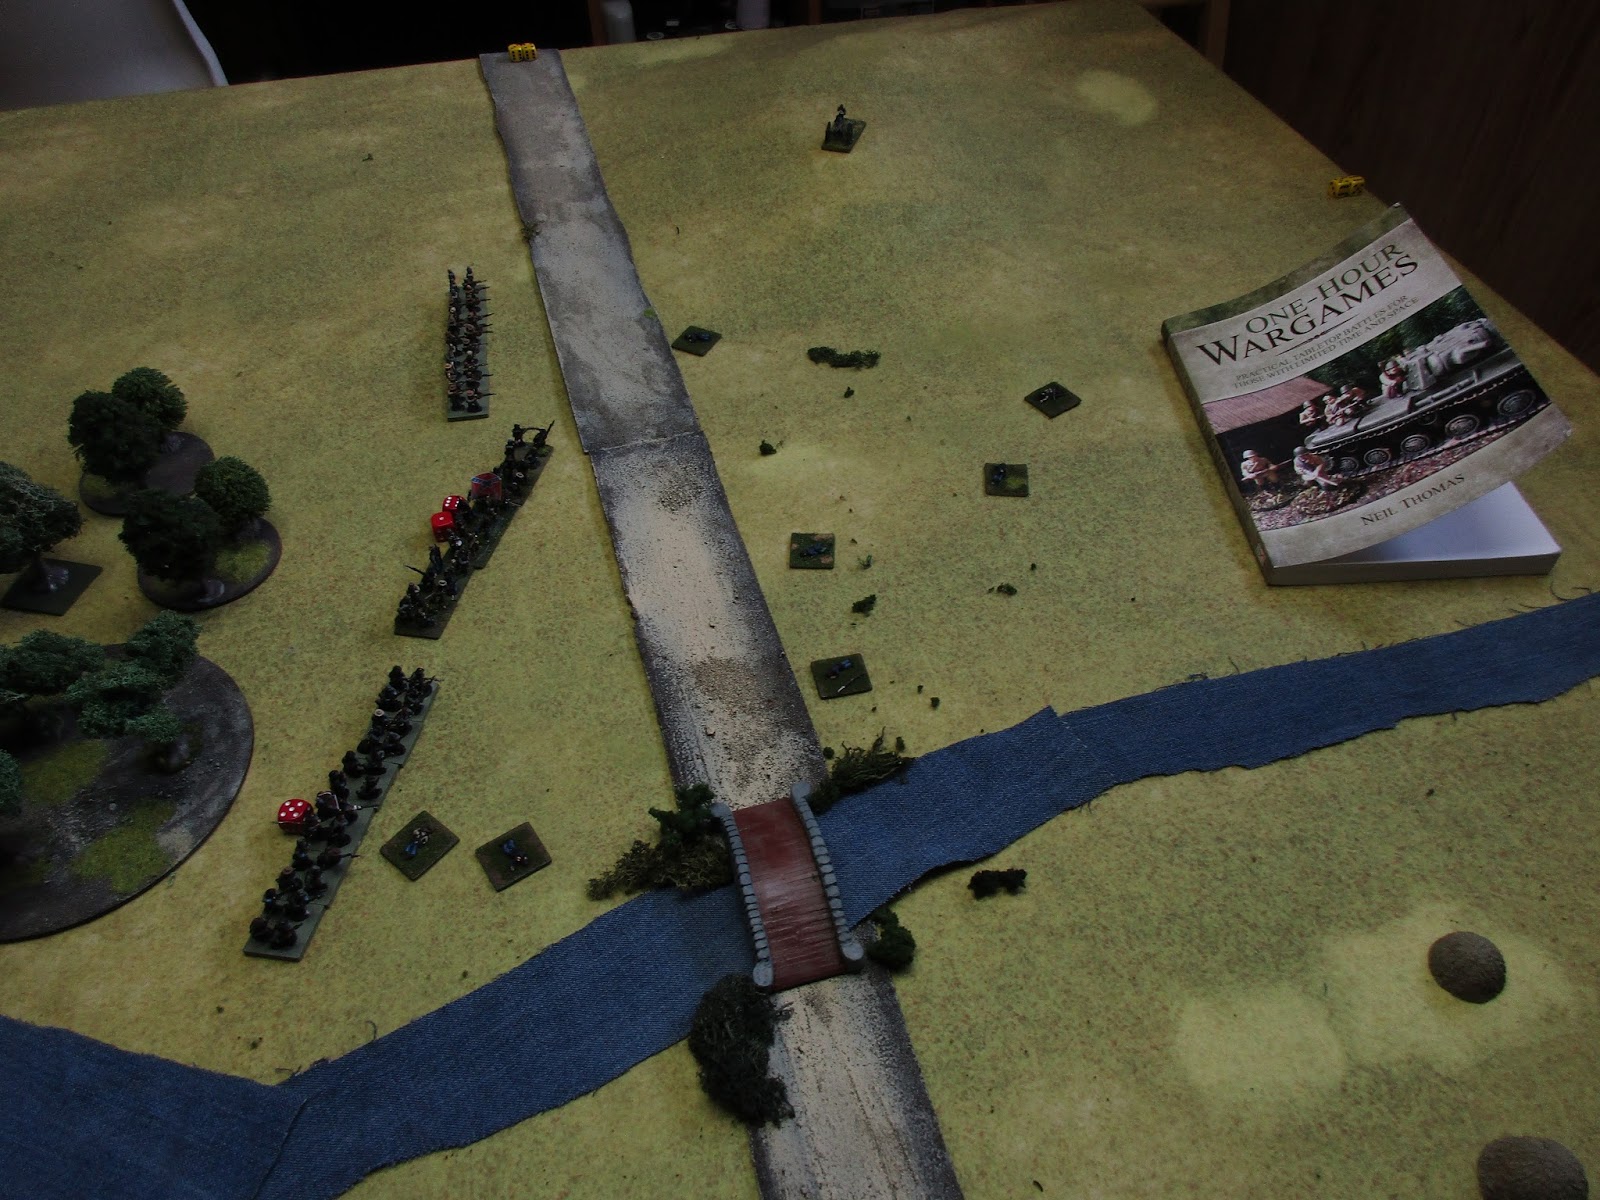
| Artillery galloping up the road center-bottom of the picture. You can just make out the Rebel Regiment to the northeast. |
 |
| Bobby Lee's dice rolling! 2 Rebel Regiments arrive in timely manner on the Union left and will advance straight through the forest. "It's Chancellorsville all over again boys!" |
 |
| The "Big Picture" |
 |
| The Union Regiment turns to face the advancing Rebs. The soldiers see the Rebel battery moving up the hilltop. |
 |
| Meanwhile 2 Confederate Regiments are double-timing through the woods. |
 |
| Followed by 2 more and we have an entire Brigade that's about the crash the Union's flank. |
 |
| Union reinforcements finally arrive but it's slow going getting across the bridge. |
Fire erupts on the north bank of the river as Confederate Artillery finds its targets and musket fire crashes all along the line.
 |
| Zouave Unit |
 |
| The Yankee rifled guns turn to face the woods and try to keep the Rebels at bay. |
 |
| Union reinforcements position themselves north of the river and prepare to meet the Rebel advance. |
 |
| Zouaves burst from the treeline. |
 |
| And another Rebel Regiment bursts from the treeline. |
 |
| A firefight breaks out. The Artillery and Union Regiment mix it up with 2 Fresh Rebel Regiments. |
By now almost all of the Union units are across the bridge but the Rebels have a stroke of luck and a Union Regiment dissolves on the Yankee right. This opens the door for more pressure on the newly formed bridgehead, which is too small to break out.
 |
| Lastly, a Yankee Cavalry (dismounted) unit rushes in to seal the gap, and forms to downward slanted portion of the union right. The Rebel artillery atop the hill starts firing at them now. |
 |
| Yankee Bridge head getting smaller. |
Union shooting destroys the Rebel Zouave unit but at great cost as another Union Regiment is knocked out of the fighting, its mean streaming towards the rear at full speed.
 |
| Not looking good, now as only a single Union Regiment and Cavalry Regiment are left, along with 2 light artillery batteries. (one was placed south of the river to harass the Rebel flank with impunity). |
 |
| Casualty markers mark where units have been destroyed. |
 |
| All that's left of the Union bridgehead - an Artillery battery with 11 hits (out of 15) and a dismounted Cavalry Regiment with 8 hits. It's turn 11. |
 |
| Safe behind the River, this light artillery section would shell the Rebel flank but the fire was mostly ineffective. |
 |
| The ground northwest of the bridge becomes a killing field |
 |
| Rebel line closing in. 3 Rebel regiments and no Union regiments. It's turn 13. |
 |
| Final Dispositions |
Lessons Learned
Expand the Bridgehead: So if you're playing this scenario as the Attacker, my recommendation is to get your forces out quickly. Follow-on forces will deal with any troops who start closer to the bridge and if you give the enemy a larger target to deal with, it'll be much harder for him to concentrate his forces and attack you. This gives you as the attacker, an easier chance to stay north of the River and achieve your victory conditions.
Get everyone north of the Bridge: Also for the attacker, go for broke and continue to give the enemy more units to shoot at. My initial thought was to place one of my Union batteries south of the river to harass the rebels when it should have been used to continue to expand the bridgehead. In the heat of battle, all you're thinking about is the enemy to your front, but as the commander in chief, you have your mission orders! Next time, I'll try and expand the bridgehead more.


Good fun! An interesting yet simple lil scenario. Well done.
ReplyDelete~K
Thank you Kurtus. I love the NT scenarios, and you get 30 of them for your money!
DeleteGreat narratives you're getting with each of Neil T's scenarios. Really good writeup re. development of the battle and subsequent lessons learned. Great post.
ReplyDeleteAlso...you should have been watching Power Rangers Dino Charge first, cuz it's awesome !!! LOL
Darren,
DeleteI have to admit the first time around was awesome. I think we're on about revolution #20 of the series now with no letup in sight... She might even have the words memorized now.
Yes these NT games are great. I'm addicted to the rules for their simplicity, ability to be hacked into, and I guess the fact that I can set up and play and entire game in way less than an hour and get good blog fodder from it.
Very cool. Sounds like it was a fun scenario.
ReplyDeleteYes much tension in this scenario. I'm going to play it with the WW2 rules in the book next.
DeleteOuch! That blow on the Union troops looks like it left a mark.
DeleteI would say, "Spike the guns and run for the hills, boys!"
You could say that. The area northeast of the bridge was basically a big Yankee graveyard.
Delete